Option Lists: adding via the Add Form process
Form Management
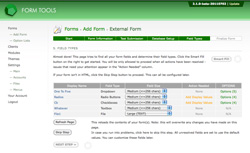
When you add one of your forms through the Add Form process, Step 5 was designed to be a huge time-saving device. It parses your entire form (even for multi-page forms) and automatically figures out the field types for each form field, and the list of options for radios, checkboxes and dropdowns. This can save you literally hours of configuration! (Believe me, I know: Form Tools 1 didn't have this!)
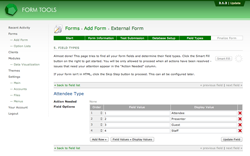
For all list-based field types (radios, checkboxes and dropdowns), after you click the "Smart Fill" button, you will see a clickable "Options" link appear in the final column of the table. When you click it, you will see the list of options the Smart Fill feature was able to locate. For dropdowns, it will be able to fill both the display value and the display text. This is just due to the nature of HTML. Checkboxes and radio buttons, however, have their labels located outside of the input field elements: technically they could appear anywhere in the webpage. For instance:
<!-- field types with their labels found outside of the element -->
<input type="radio" name="r" /> My first radio!
My second radio: <input type="radio" name="r" />

<input type="radio" name="c" /> My first checkbox
My second checkbox: <input type="checkbox" name="c" />

<!-- field types with their labels found inside the element -->
<select name="s">
	<option value="one">One</option>
	<option value="two">Two</option>
	<option value="three">Three</option>
</select>
Because of this, the Smart Fill feature doesn't pre-fill the display texts for checkboxes or radio buttons, since it doesn't know where to find them! Dropdowns always have their labels found in the same place, so they CAN be pre-filled.
After you fill in all the fields here, Form Tools will automatically combine identical fields behind the scenes. You don't need to worry about the details.

