Option Lists: editing
Form Management
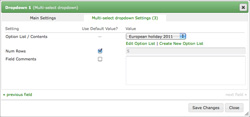
To edit a field's Option List, you need to start by tracking it down. You can do this in two ways. One, visit the Edit Form » Fields tab, locate the field, click the "Edit" link, then in the Edit Field dialog, go to the second tab and click the "Edit Option List" link. next to the appropriate setting. The other way of doing it is to just click on the Option Lists link in your left navigation panel. There, locate the Option List and edit it. This is generally simpler when you have a small number of forms, but when you have a lot, it can be tricky locating the one you want.
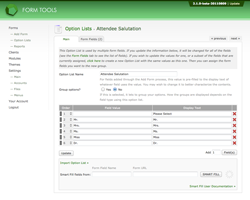
From here, editing the Option List is very easy. There are two methods: you can manually edit them (which is convenient for shorter lists), or use the "Smart Fill" feature found at the bottom of the page. The latter method is strongly recommended for longer lists.
The Smart Fill feature works by entering the field name (the name="" attribute of the form field) and the URL of the page where it's stored. Then, the script attempts to parse the page and extract the list of field options.
Generally speaking, if you supplied the correct form field name, this should work fine. But in case it cannot locate the field, you might want to try "hacking it" by copying and pasting the field into a blank webpage and linking that that instead. This can at least help identify where the problem lies.
Grouped Options
Form Tools 2.1.x introduced a new option where you can group similar options, e.g. you could have a single Option List split into two groups: "Canadian Provinces" and "US States".
How the grouped Option Lists get displayed depends on the field type it's being used in. For example, a dropdown list would just group them visually in optgroups; radios and checkboxes display them with a heading above each group.

